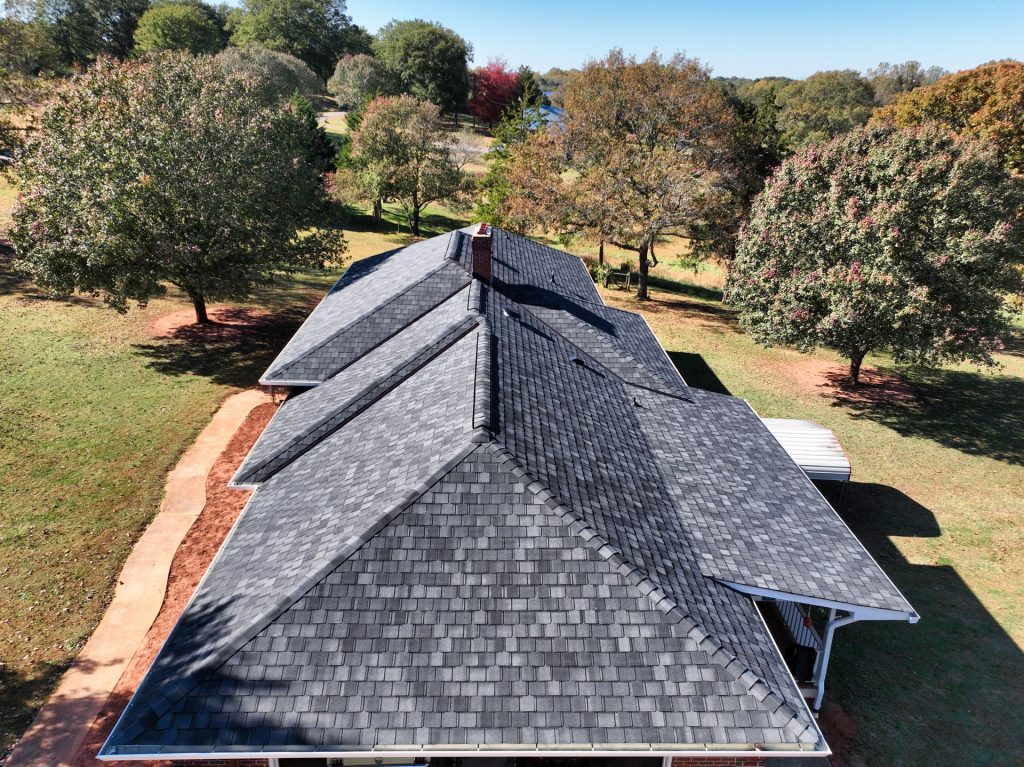
Properly route an exhaust fan through a roof hood.
In Asheville, vent your bathroom and kitchen exhaust fans through a specific roof hood. Venting through a typical roof vent or exhausting them into the attic may lead to moisture problems and decay.
Tools Needed:
- Caulk gun
- Corded drill
- Hammer
- Jigsaw
- Pry bar
Materials Needed:
- 4-in. insulated rigid or flexible duct
- Asphalt roof cement
- Roof-mounted exhaust vent
- Roofing nails
Step-By-Step Guide (3 Steps)
Step 1: Details About Roof Vent Hood
The most effective exhaust fan venting is accomplished through smooth, tough ducts with taped joints and fastened to a distinct vent hood. While this may not always be possible in attic crawl spaces, insulating the duct is crucial to avoid condensation problems. You can find 4-in. ducts already insulated at home centers. If you’re considering venting your exhaust fan through an existing roof vent or into the attic, refrain from doing so. Instead, we at Lane Roofing & Restoration will show you how to install a roof vent securely in Asheville.
If you choose to vent through an existing roof vent, be aware that it may become partially obstructed by the ductwork, consequently reducing the flow of cooling air within your attic. Furthermore, in colder seasons, this setup may lead to blowing warm, humid air onto a colder surface, such as the roof vent and plywood. This scenario can cause water to condense, drip into the insulation below, and potentially seep into your living spaces. Utilizing specialized bathroom fan roof vents, equipped with an internal damper that engages only when the fan is in use, can effectively direct humidity-laden air outdoors and bar cold air from infiltrating your home.
Step 2: Procedure for Installing a Roof Vent
Begin in the attic and drill a hole through the roof at the desired vent location. Keep it as close to the fan location as possible. Leave the drill bit protruding through the roof so you can locate the hole. Use a jigsaw or reciprocating saw from the roof to cut a 4-in. round hole. Subsequently, measure a square slightly larger than the vent part that will protrude. Remove the asphalt shingles using a utility knife fitted with a hook blade. Carefully lift the shingles surrounding the hole to create sufficient room for the vent to be slid under the initial layer of shingles.
Step 3: Applying Asphalt Roof Cement
Administer a bead of asphalt roof cement to the underside of the vent. Maneuver the vent under the shingles, ensuring that they overlap the top portion of the vent flange. The vent flange’s bottom half should rest atop the shingles. Affix the lower corners using roofing nails and apply tar to the nail heads for additional security.
Whether it’s minor roof repair on a home or business or a more extensive roof replacement requiring specialists, we’re here to help. Just get in touch and let us know what you need!
