What Goes Into a Roof Installation?
A roof installation is one of the biggest investments you'll make in your home. Whether you're building new or replacing an aging roof, understanding the process helps you make better decisions and avoid costly mistakes. Here in Asheville and Western North Carolina, our mountain climate adds specific considerations that homeowners in flatter, milder regions don't have to think about.
This guide walks you through every step of a professional roof installation, from planning to the final walkthrough.
Step 1: Choosing the Right Roofing Material
The first decision is what material to put on your roof. In Western NC, the most common options are architectural asphalt shingles, standing seam metal roofing, and synthetic or composite alternatives.
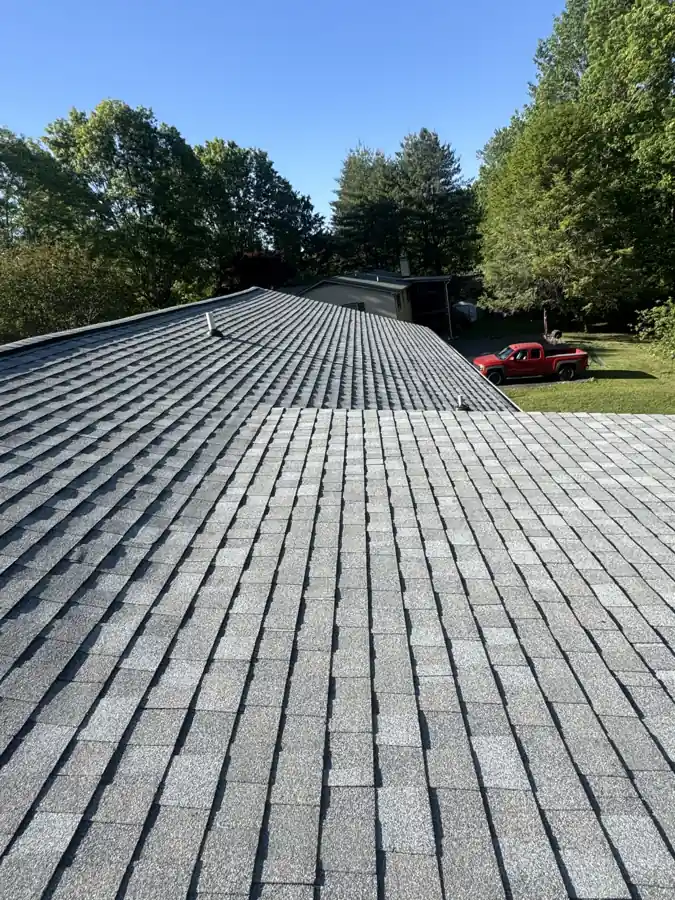
Architectural asphalt shingles remain the most popular choice for Asheville homes. They cost between $3.50 and $5.50 per square foot installed, come in dozens of colors and profiles, and carry 30-year warranties from manufacturers like CertainTeed. They handle our climate well and offer excellent value.
Standing seam metal roofing is gaining popularity in the mountains for good reason. Metal lasts 50+ years, sheds snow and rain effortlessly on steep mountain slopes, resists wind up to 140 mph, and reflects solar heat to lower cooling costs. The upfront investment is higher, typically $7 to $12 per square foot , but the long-term value is hard to beat. Learn more about metal roofing options for Asheville homes.
Synthetic and composite options like polymer shingles or rubber slate offer the look of premium materials with improved durability. They're lighter than natural slate, resist impact damage, and work well on Asheville's historic homes where appearance matters.
The best choice depends on your budget, how long you plan to stay in the home, and the architectural style of your property. A good roofing contractor will walk you through the options honestly, not push the most expensive material.
Step 2: Getting an Accurate Estimate
Before any work begins, you need a detailed written estimate. A professional roofing contractor will inspect your current roof, measure the surface area, assess the condition of the decking underneath, and check ventilation.
Your estimate should itemize the cost of materials, labor, tear-off and disposal of the old roof, any decking repairs needed, new flashing, drip edge, underlayment, ridge vents, and cleanup. If a contractor gives you a vague one-line quote, that's a red flag.
In the Asheville area, a typical full roof replacement for an average-sized home (roughly 2,000 square feet of roof area) runs between $8,000 and $15,000 for shingles and $15,000 to $25,000+ for metal, depending on the complexity of the roof.
Steep slopes, multiple valleys, dormers, skylights, and chimney flashing all add to the cost because they require more labor and materials. Mountain homes tend to have more complex roof lines than homes in flatter areas, so local experience matters.
Step 3: Preparing for Installation Day
Once you've signed the contract, your contractor will schedule the work based on weather and material availability. Here's how to prepare your property.
Move vehicles away from the house. Roofing debris falls, and you don't want shingle nails in your tires. If you have a detached garage, park there. Otherwise, move cars to the street.
Remove or secure items in your attic. The hammering and vibration from removing old shingles and nailing new ones can shake loose items stored in the attic. Take down anything fragile.
Protect landscaping near the house. Your crew should lay tarps, but trimming back bushes tight against the house gives them room to work and protects your plants.
Let your neighbors know. A roof installation is loud. A heads-up goes a long way.
Step 4: Tear-Off and Inspection
On installation day, the crew starts by stripping off the old roofing material. This is the noisiest and messiest part of the job. Old shingles, underlayment, and sometimes flashing are removed down to the bare wood decking.
This is a critical moment because it reveals the true condition of your roof deck. Soft spots, water damage, rotted plywood, and deteriorated boards can all be hiding under the old shingles. A good contractor will replace any damaged decking before installing new materials. This is not optional, installing new shingles over rotten wood is a waste of money.
In WNC, we commonly find moisture damage around chimneys, in valleys where water concentrates, and along the eaves where ice dams may have formed over the years.
Step 5: Underlayment and Ice & Water Shield
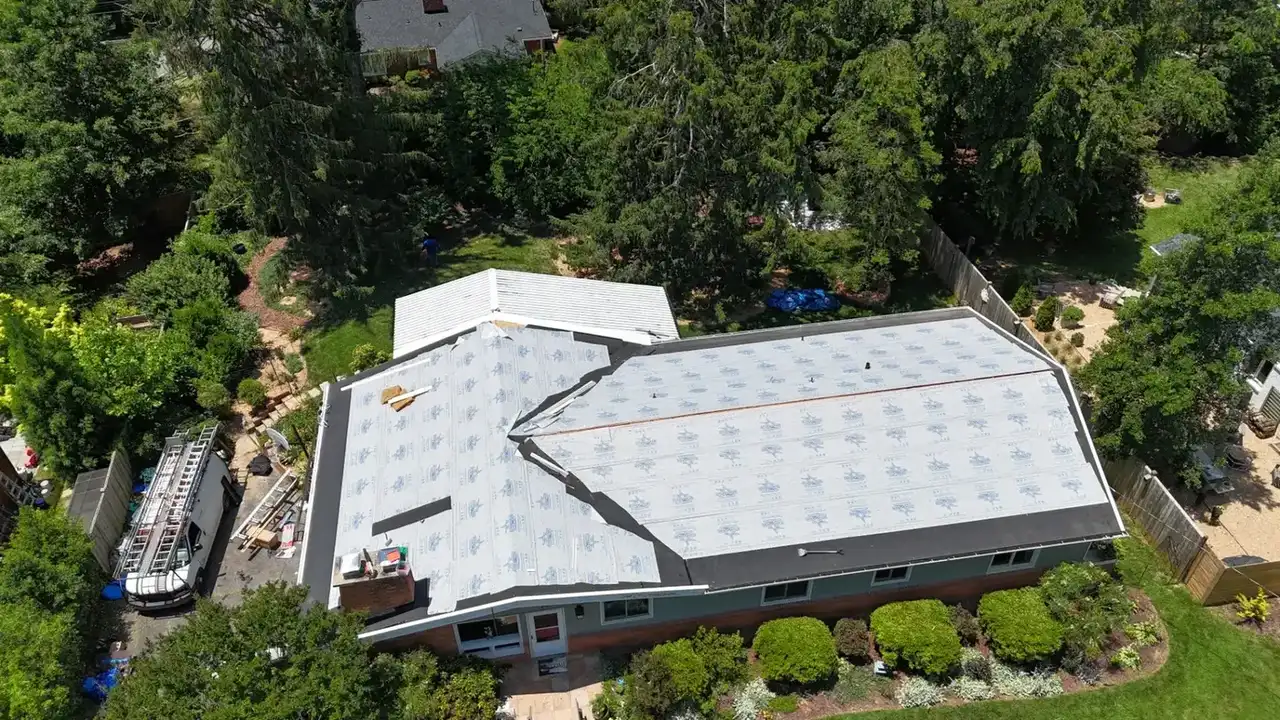
With clean, solid decking exposed, the next layer is underlayment. This is a water-resistant or waterproof barrier between the decking and the shingles. Think of it as your roof's second line of defense.
In Asheville's climate, ice and water shield is applied along the eaves (the first three feet from the edge), in all valleys, and around penetrations like vents, pipes, and skylights. This self-adhesive membrane prevents water from backing up under shingles during ice dam events or wind-driven rain.
Synthetic underlayment covers the rest of the roof. It's lighter and more durable than the old-style felt paper and won't wrinkle or tear during installation.
Step 6: Flashing, Drip Edge, and Ventilation
Before the shingles go on, the crew installs critical weatherproofing components. Drip edge goes along all roof edges to direct water away from the fascia and into the gutters. Step flashing is woven into the shingles wherever the roof meets a wall, chimney, or dormer.
Proper ventilation is installed or verified at this stage. Ridge vents along the peak and soffit vents along the eaves create natural airflow that removes heat and moisture from the attic. In Asheville's humid summers, good ventilation prevents your attic from turning into a sauna that degrades shingles from below and spikes your cooling bills.
Step 7: Installing the Roofing Material
Now the main event. For shingle roofs, installation starts at the bottom edge and works upward in overlapping courses. Each shingle is nailed according to the manufacturer's specifications, typically four to six nails per shingle, placed in specific locations for maximum wind resistance.
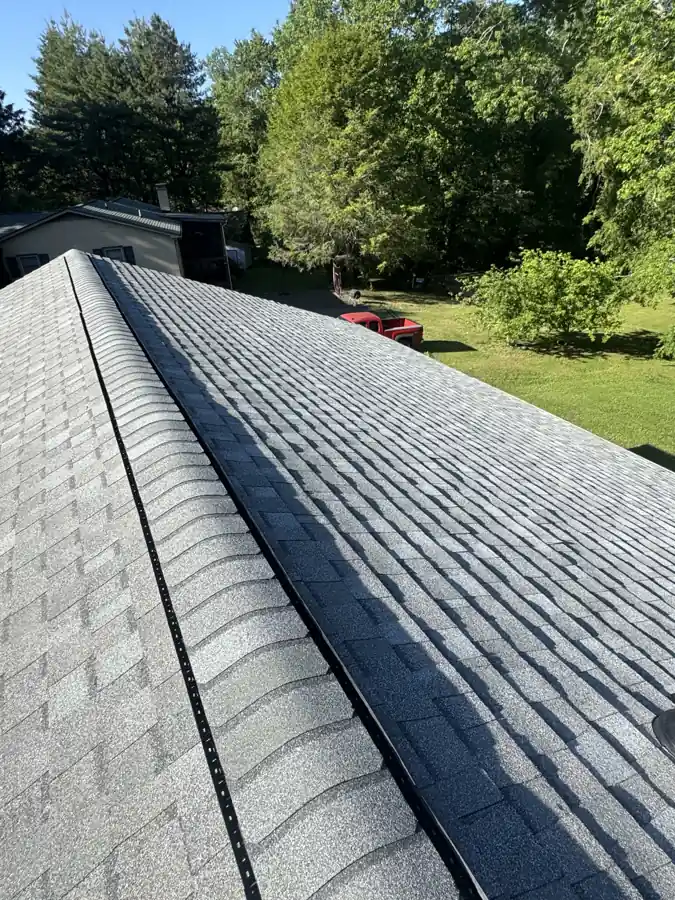
Starter strips go along the eaves and rakes. These provide the adhesive seal that keeps the first course of shingles from lifting in wind. Hip and ridge cap shingles finish the peaks and hip lines.
For metal roofing, panels are measured, cut, and attached with concealed fasteners that allow for thermal expansion and contraction. Proper fastening is critical, metal moves with temperature changes, and using the wrong fastener pattern leads to buckling or loosening over time.
A quality installation takes most crews one to three days for a standard residential roof, depending on size and complexity. Larger or steeper mountain homes may take longer.
Step 8: Cleanup and Final Inspection
After the last shingle or panel is installed, cleanup begins. The crew removes all debris, runs magnetic rollers across the yard and driveway to pick up stray nails, and clears the gutters of any material that fell in during installation.
A final walkthrough with the homeowner covers the completed work, warranty information, and any maintenance recommendations. You should receive manufacturer warranty documentation and a separate workmanship warranty from your contractor.
Roof Installation Costs in Asheville: What to Budget
Here's a realistic breakdown for the Asheville area in 2026:
Asphalt shingle roof on a standard home: $8,000 to $15,000. This includes tear-off, new underlayment, flashing, ridge vent, and architectural shingles with a 30-year warranty.
Standing seam metal roof: $15,000 to $30,000+. Higher material cost, longer installation time, but a 50+ year lifespan and significant energy savings.
Factors that increase cost: Steep pitch (over 8/12), complex roof lines with multiple valleys and dormers, chimney flashing, skylight re-flashing, extensive decking repairs, difficult access, and material upgrades like impact-resistant shingles.
How Long Does a Roof Installation Take?
Most residential roof installations in the Asheville area take one to three days. A straightforward ranch-style home with a simple gable roof might be done in a day. A larger mountain home with steep pitches, multiple dormers, and valleys could take three to four days.
Weather is always a factor in WNC. Your contractor should monitor the forecast and won't install during rain. Morning fog is common in the mountains but usually burns off by mid-morning and doesn't delay work significantly.
Choosing a Roofing Contractor for Your Installation
This is arguably the most important decision in the entire process. The best roofing material in the world won't perform if it's installed poorly. Look for a contractor who is licensed and insured in North Carolina, has strong local reviews and references, provides a detailed written estimate, offers a meaningful workmanship warranty, and has experience with your specific roofing material.
Avoid storm chasers and out-of-town crews who appear after severe weather. They're often gone before warranty issues surface. Choose a local Asheville roofing contractor who'll be here when you need them.
Ready to Start Your Roof Installation?
At Lane Roofing and Restoration, we've completed hundreds of roof installations across Asheville and Western North Carolina. We're a licensed NC general contractor, GAF Certified, fully insured, and backed by over 300 reviews from local homeowners.
Contact us for a free estimate or call (828) 490-1830. We'll help you choose the right material, give you an honest price, and install your new roof with the quality it deserves.
Worried About Your Roof?
Get a free roof inspection from a local crew. We'll take a look, show you photos of what we find, and give you an honest answer on what it needs.
Serving Asheville, Western NC, Mooresville, Lake Norman, Hickory and Statesville.